
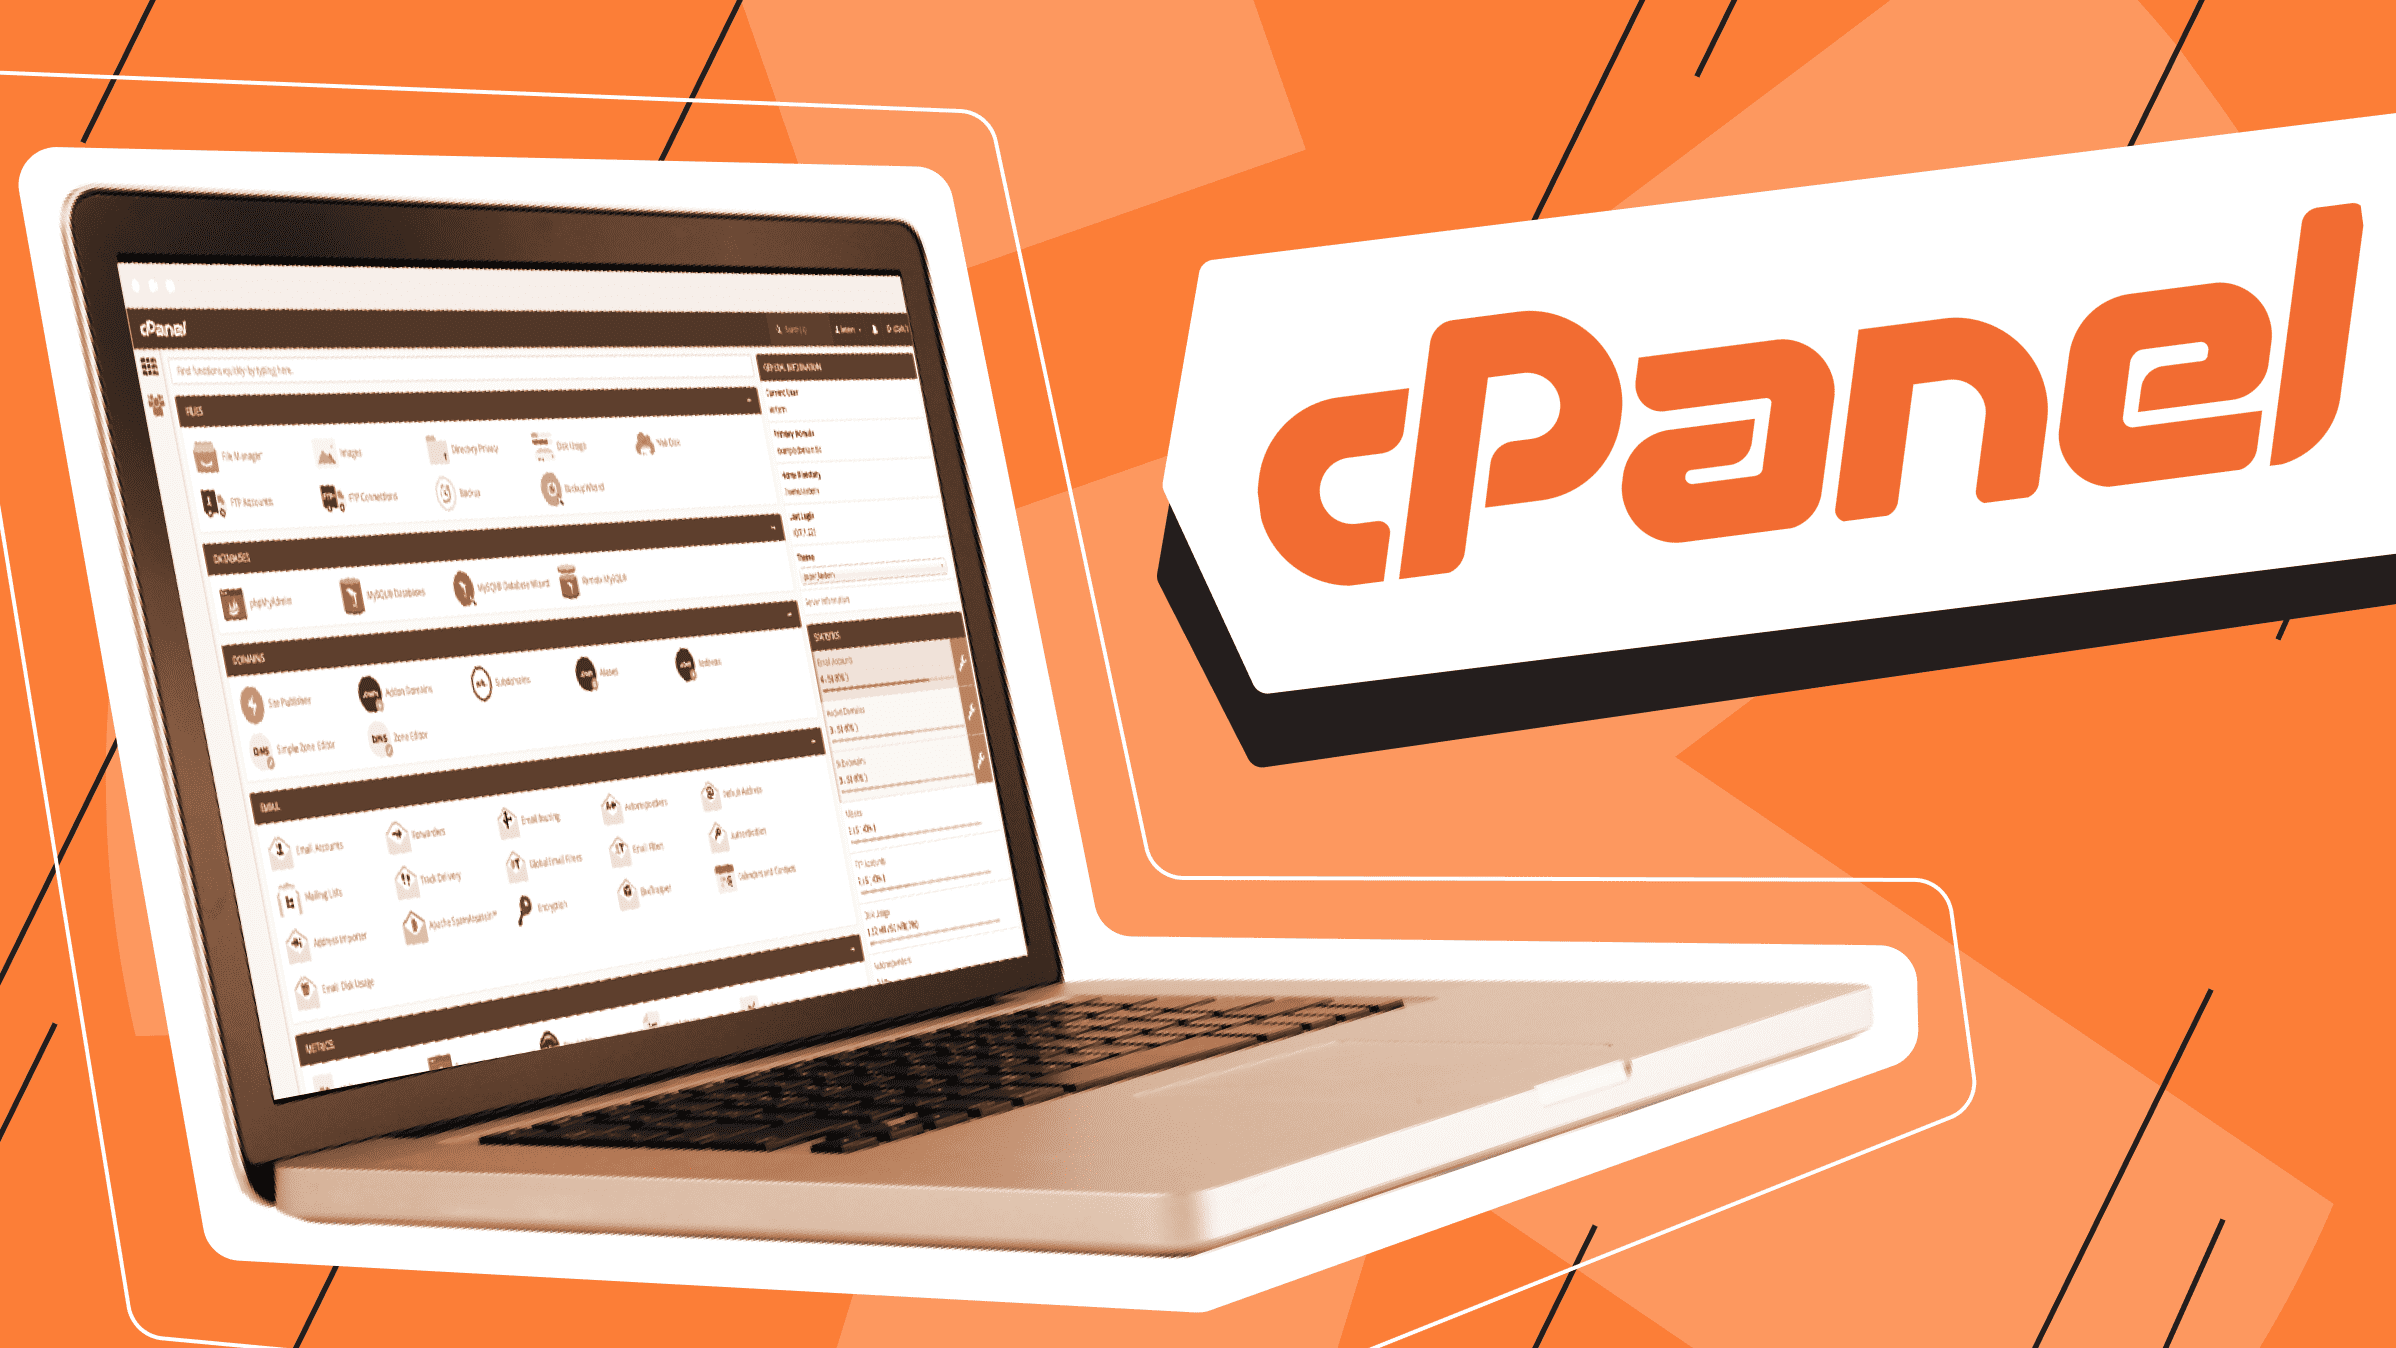
Knowing how to access your cPanel is an essential part of managing a website. cPanel is a control panel that allows you to manage various aspects of your website, such as creating email accounts and setting up databases. In this blog post, we’ll provide step-by-step instructions for accessing cPanel so that you can get started managing your website with ease!
Step 1: Log into Your Hosting Account
The first step in accessing your cPanel is logging into your hosting account. You should have received login details from your hosting provider when you signed up for the service. Use these credentials to log in.
Step 2: Find the Control Panel Option
Once you’ve logged in, look for the “Control Panel” option on the homepage of your hosting account. This will be located in different places depending on the hosting provider you use, but it should be easy to spot. Click this option to open up the list of control panels available to you.
Step 3: Select cPanel from the List of Control Panels
From this list, select “cPanel” as the control panel you want to access. This will take you to the login page for cPanel where you need to enter another set of credentials—username and password—which should have been sent by your hosting provider when they set up your account. Enter those credentials and click “Log In” to gain access to cPanel.
Now that you know how to access cPanel, it’s time for you to start taking advantage of all its features! With cPanel, you can manage various aspects of your website with ease — from creating email accounts and databases, to backing up data and optimising performance. We hope this guide has been helpful in getting started with using cPanel on your website! Good luck!